
Reverse Sear: The perfect steak method for beginners and grill professionals
Imagine: outside a crispy, caramelized crust – inside tender, juicy, and perfectly cooked. That’s exactly what you achieve with the Reverse Sear method – the king of grilling techniques for steak. And the best part: you don’t need high-tech equipment or 20 years of grilling experience. Just a little know-how, a sense of heat, and a passion for meat with character.
In this guide, I will show you step by step how to master Reverse Sear – whether with a gas grill, charcoal, or kamado. Whether it’s a ribeye, tomahawk, or flat iron: with this technique, you’ll elevate your BBQ game to a new level.
What exactly is Reverse Sear?
Reverse Sear – also called ‘reverse cooking’ – means that you first pre-cook your steak initially at low temperature (indirect) and only then sear it sharply. In contrast to the traditional method, you get here more control, even cooking levels and a spectacular crust – without a gray meat edge.
This method works especially well for thick steaks (from about 3 cm) – like the real calibers such as tomahawk, ribeye, or porterhouse.
What you need
- A good steak: e.g., dry-aged ribeye, tomahawk, flat iron
- A grill with direct & indirect zone
- core temperature thermometer
- Salt, possibly pepper, oil
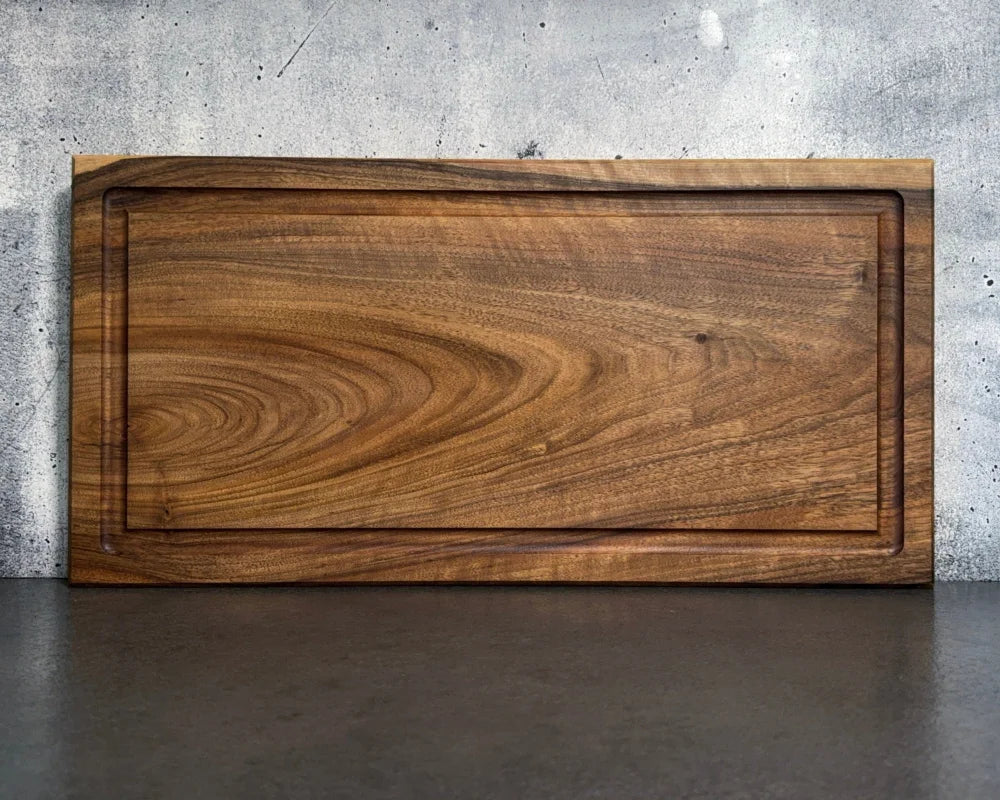
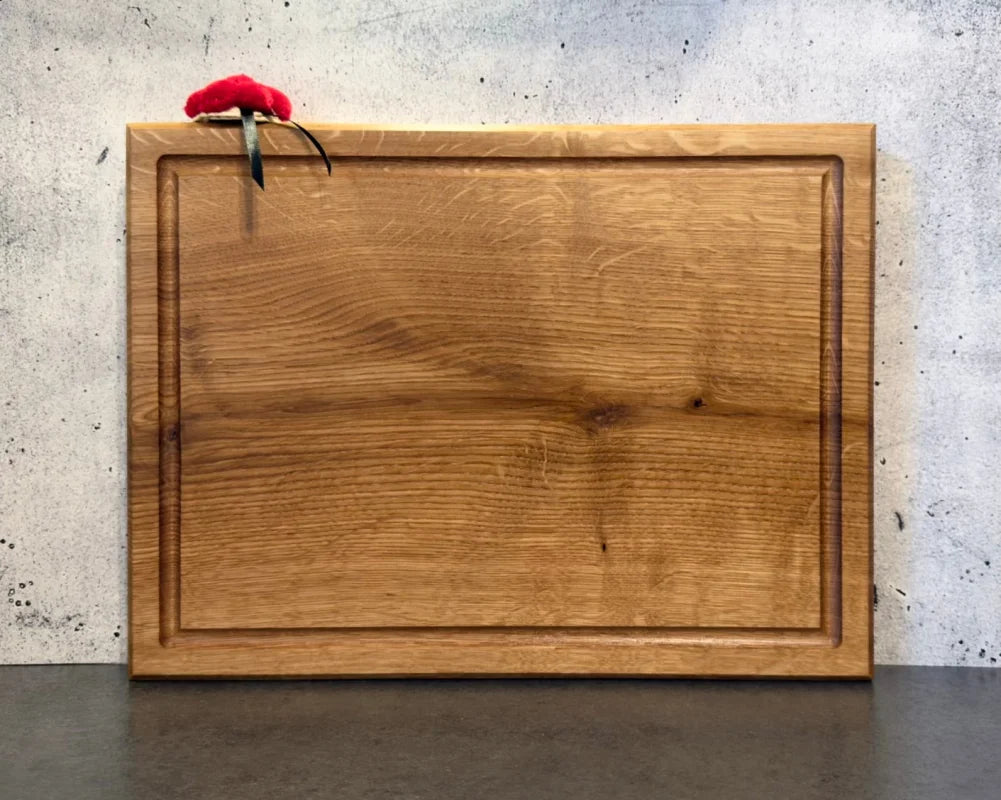
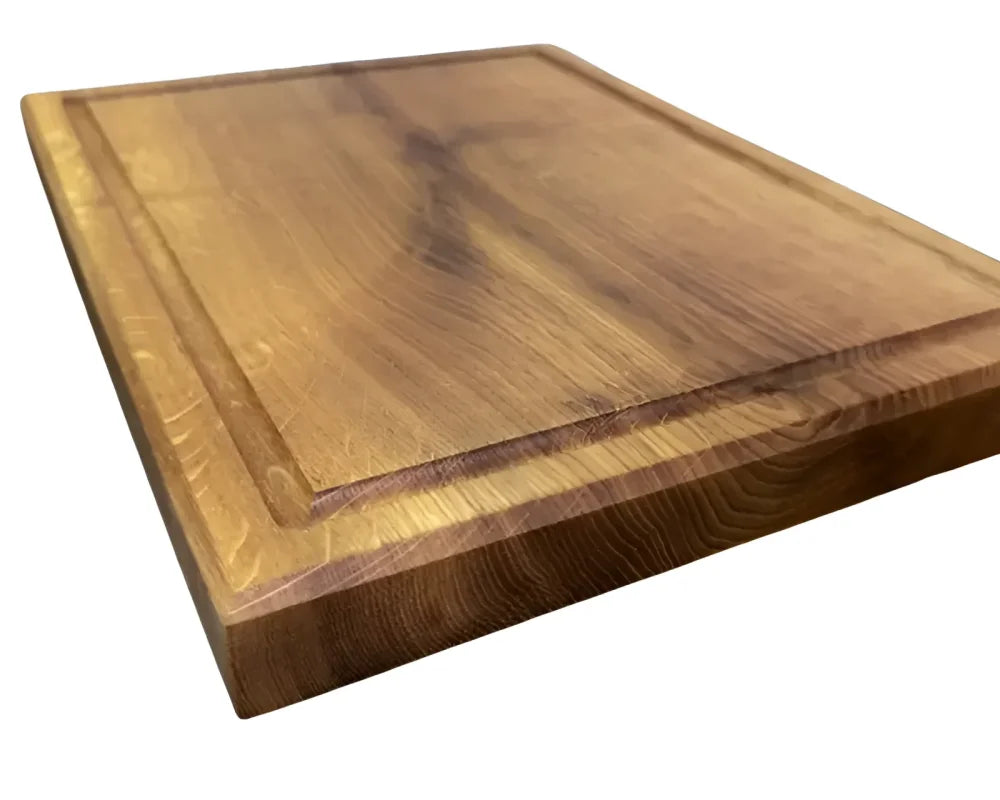
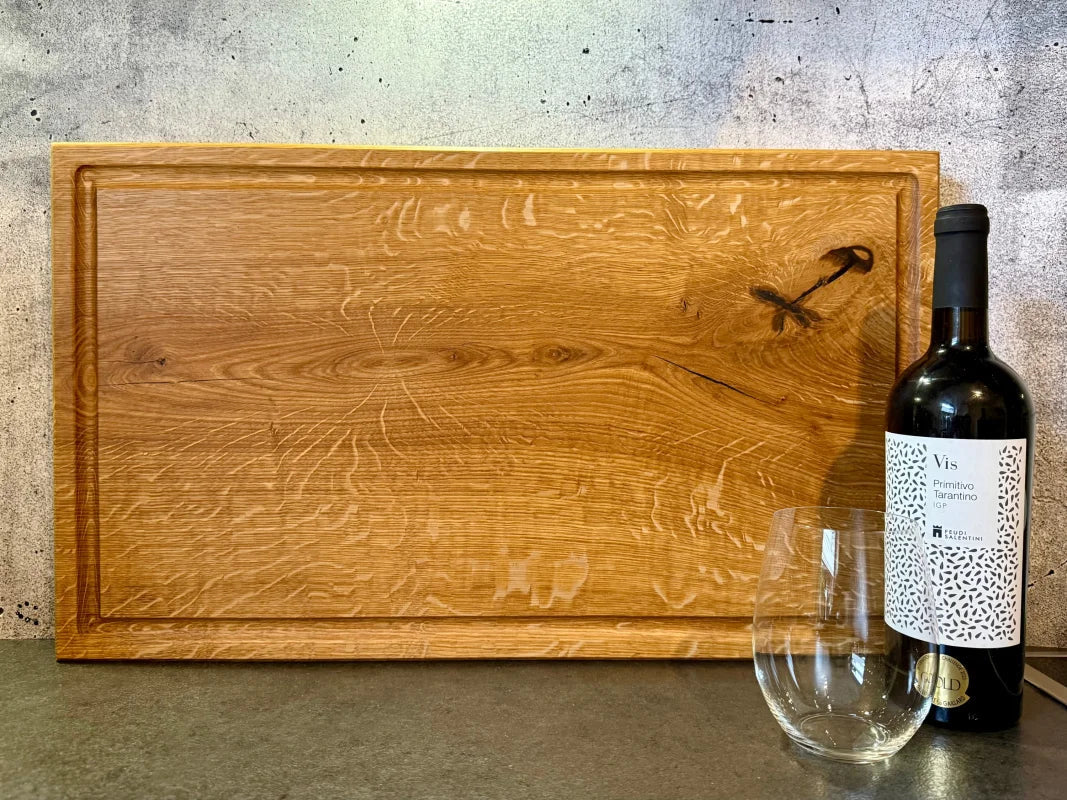
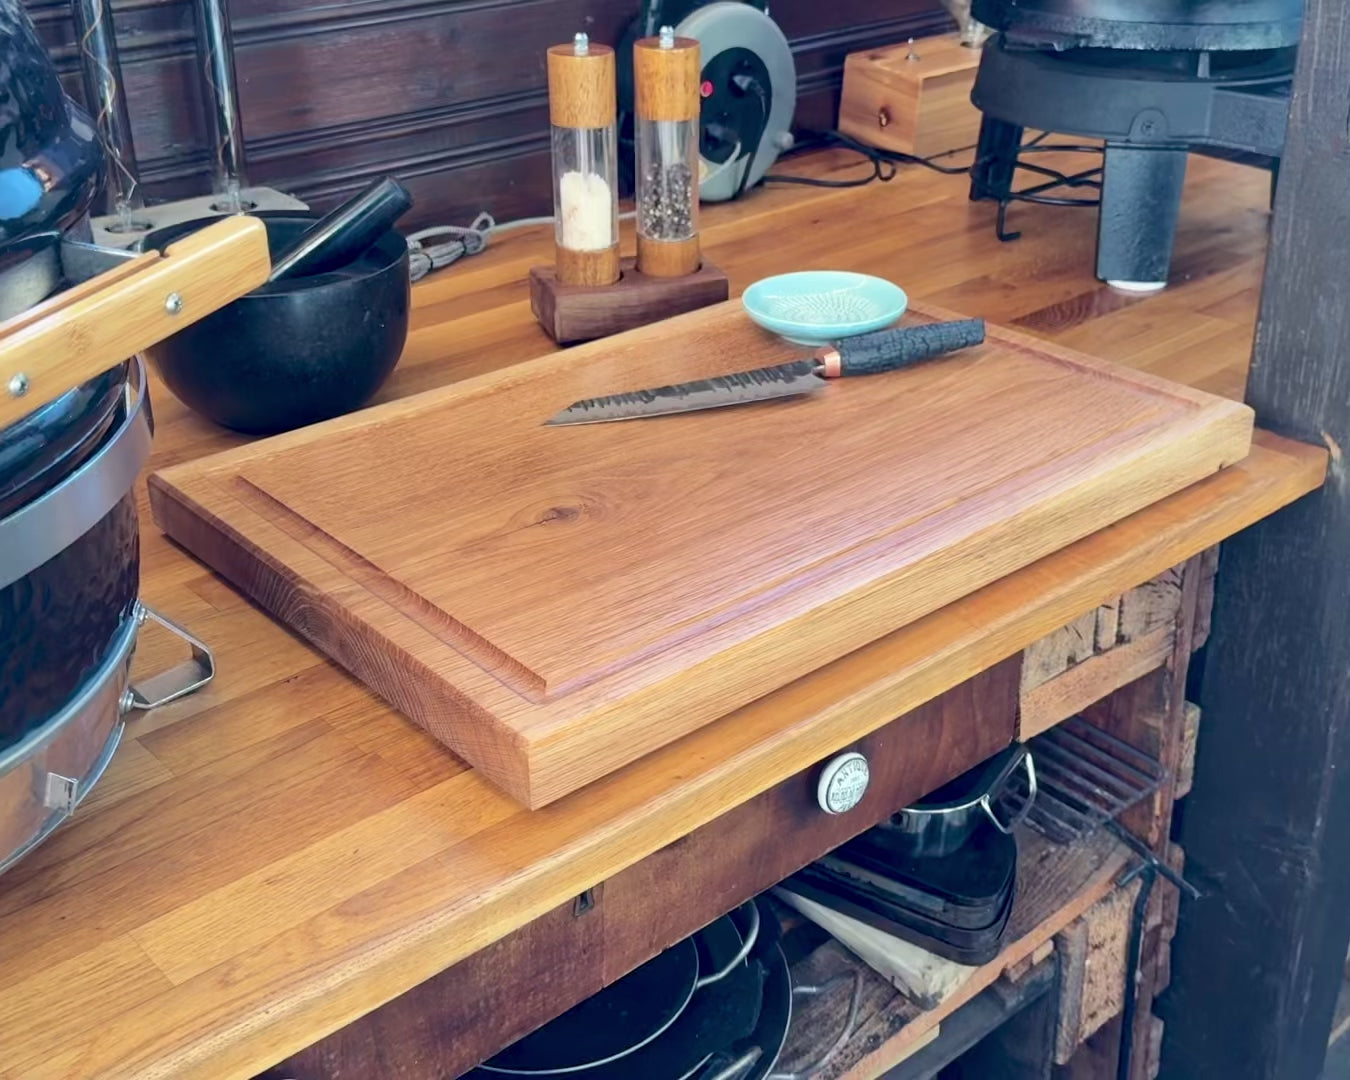
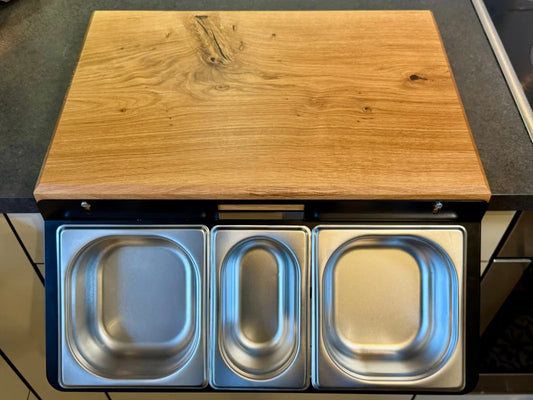
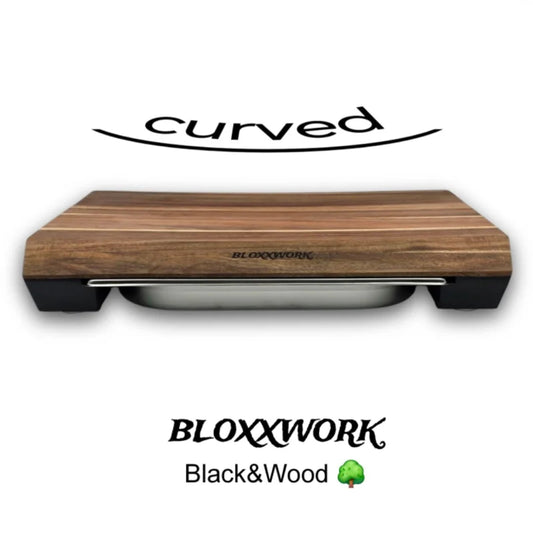
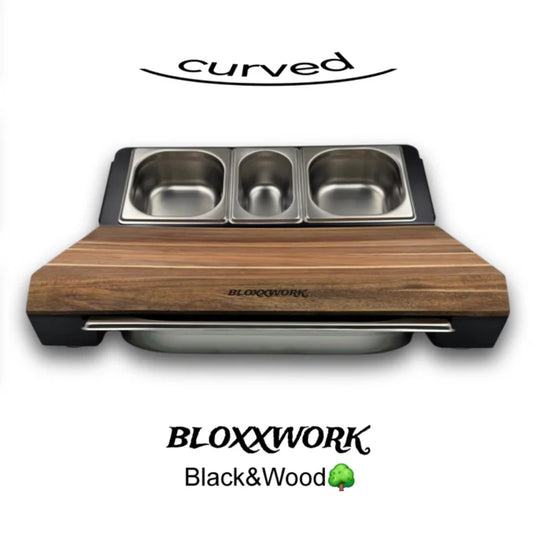
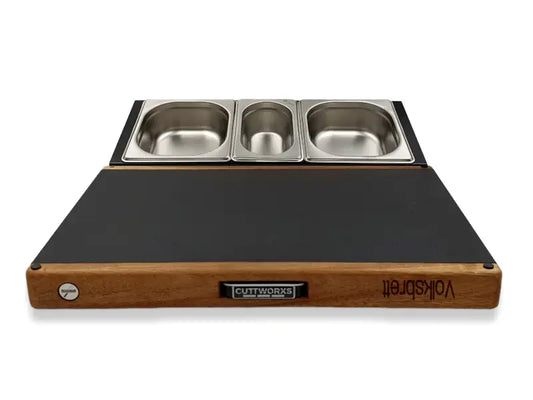
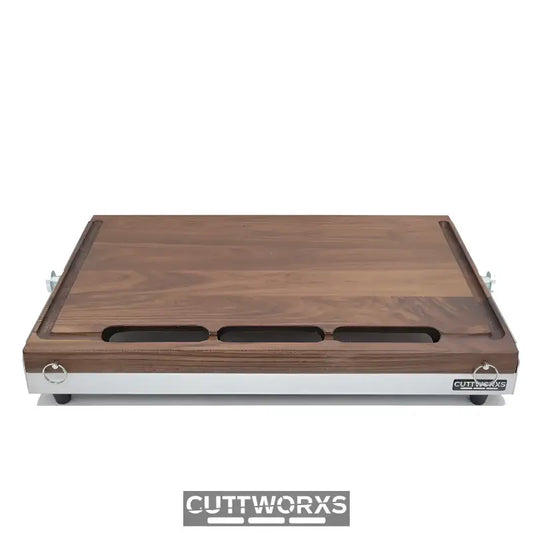
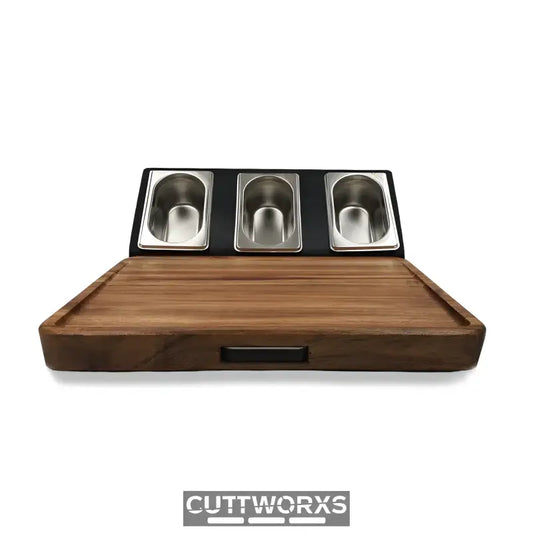
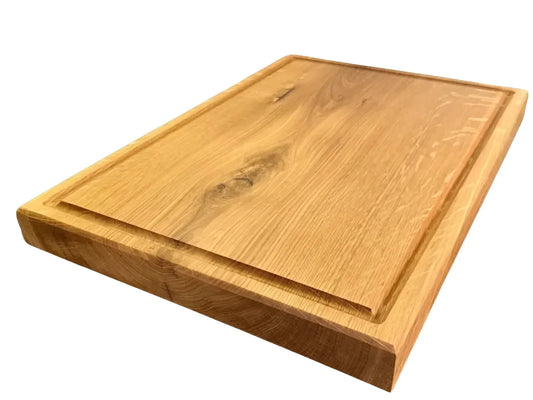
- A wooden board to rest the meat – ideally made of walnut
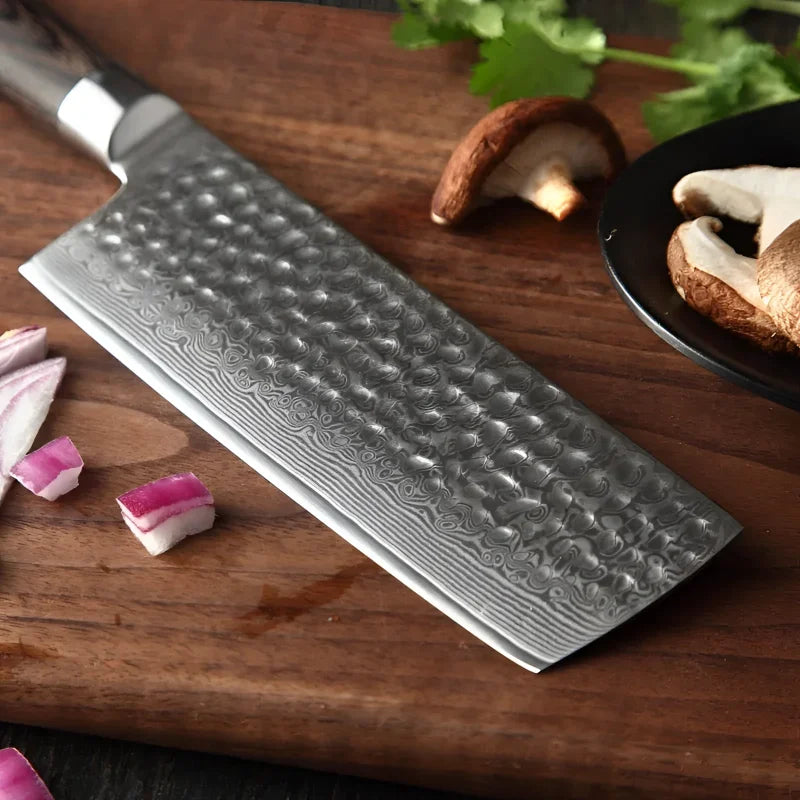
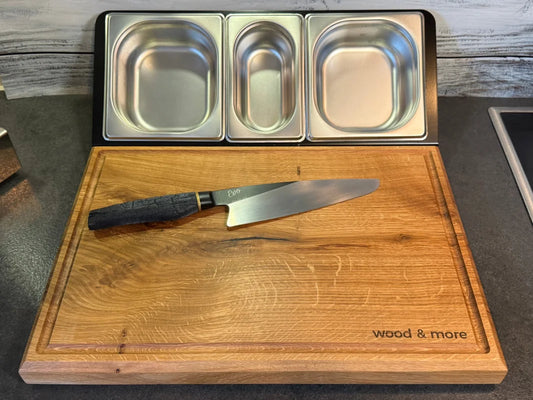
- Optional: cast iron grate, GN container, steak knives
Step-by-step: Reverse Sear on the grill
1. Prepare the steak
Take your steak out of the fridge at least 1 hour before grilling. Pat it dry and generously salt it. No oil, no pepper – that comes later.
2. Indirect pre-cooking
Preheat the grill to about 110–130°C (indirect heat). Place the steak in the indirect zone – best with a probe thermometer in the center. Goal: about 42–48°C

3. Rest – on the wooden board
Remove the steak from the grill and let it rest for 5–10 minutes – best on a solid wooden board. The board absorbs excess heat, protects the structure – and the meat relaxes.

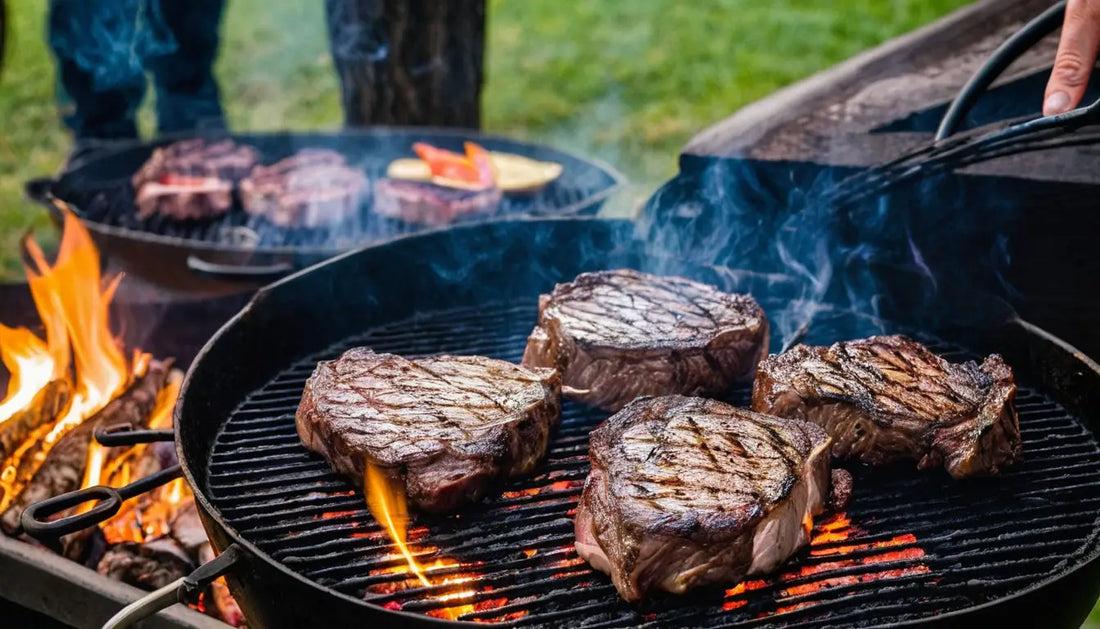
4. Sear sharply (direct)
Now give it real heat: bring the grill or cast iron plate to 250–350°C. Sear the steak for 45–60 seconds each side – for the perfect crust. Now you can also add pepper.

5. Slice & serve
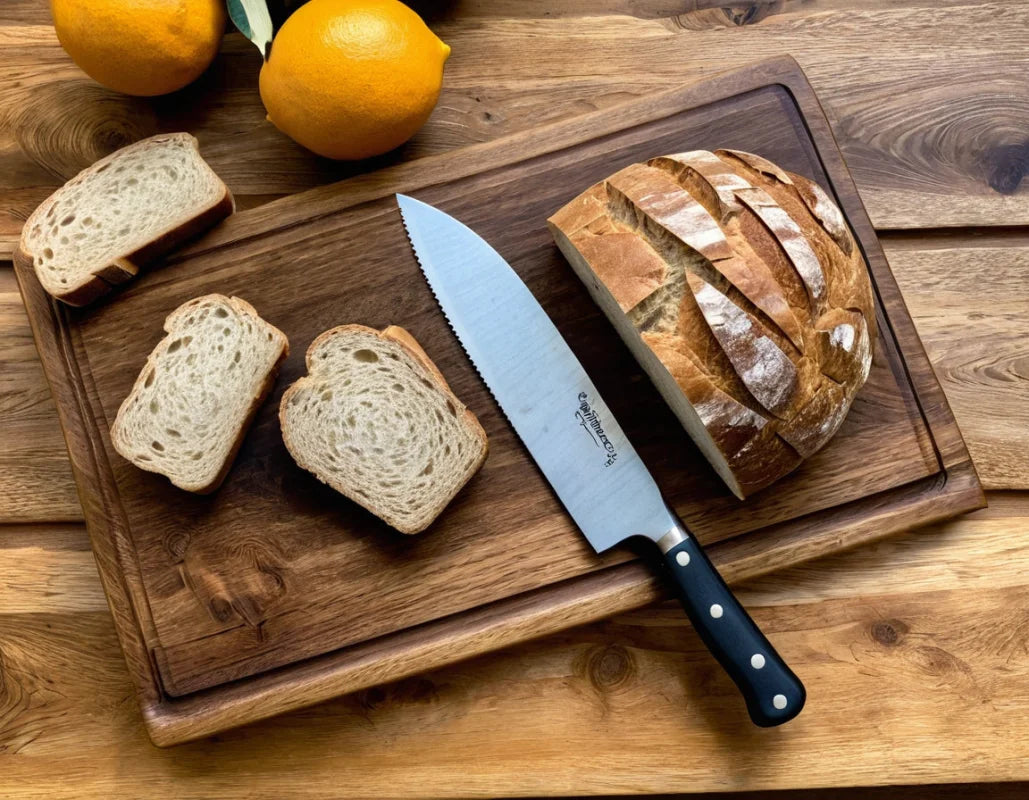
Let rest briefly again, then slice against the grain. Serve stylishly on an elegant wooden board.

Why does Reverse Sear work so well?
- Controlled core temperature: Even cooking without a gray edge
- More crust aromas: Resting before the finish = perfect Maillard reaction
- Perfect cutting guide: Juicy, textured meat
Pro tips & common mistakes
| Mistakes | Better to: |
|---|---|
| Cook too early | Rest after cooking |
| No thermometer | Check core temperature |
| Too little heat at the finish | Preheat grill properly |
| Cold from the fridge on the grill grate | Bring steak to temperature in time |
Recipe idea: Tomahawk with rosemary-garlic butter
Ingredients:
1 Tomahawk steak (approx. 1.2 kg), sea salt, black pepper, rosemary, 1 garlic clove, 50 g butter
Preparation:
Pre-cook the steak, let it rest. Whisk butter with rosemary and garlic. Finish the steak and brush with butter. Slice, serve, enjoy.
Recommended accessories from the pitmaster
- Walnut cutting board with juice groove – for resting & serving
- BBQ thermometer – for perfect core temperature
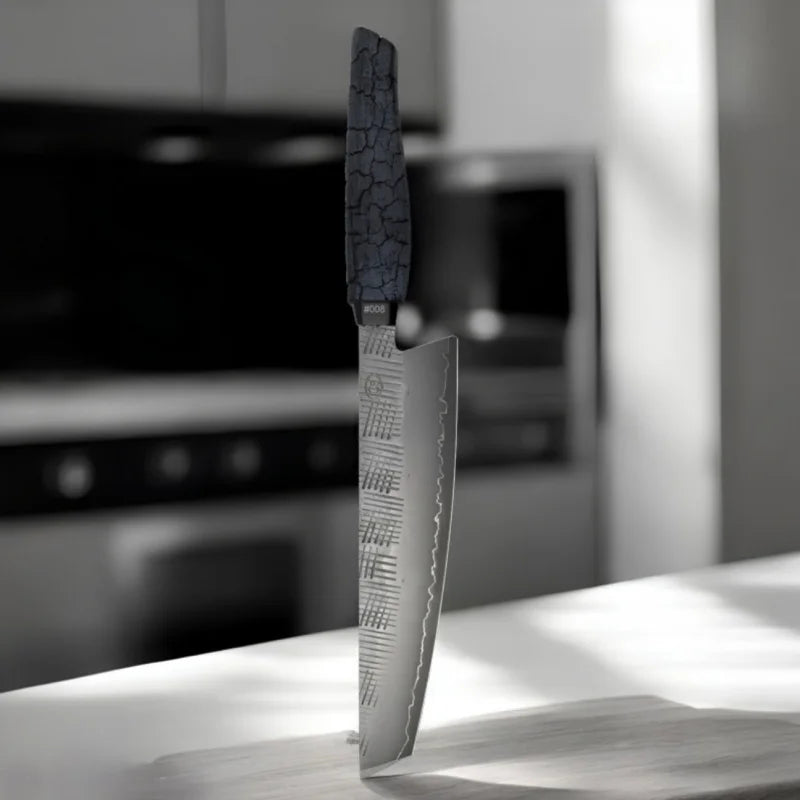
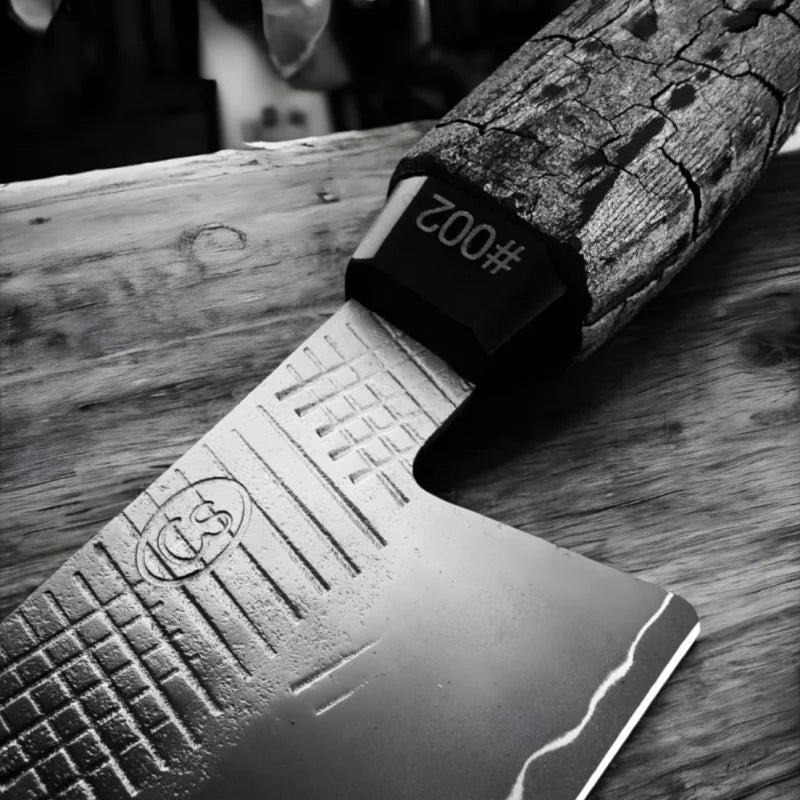
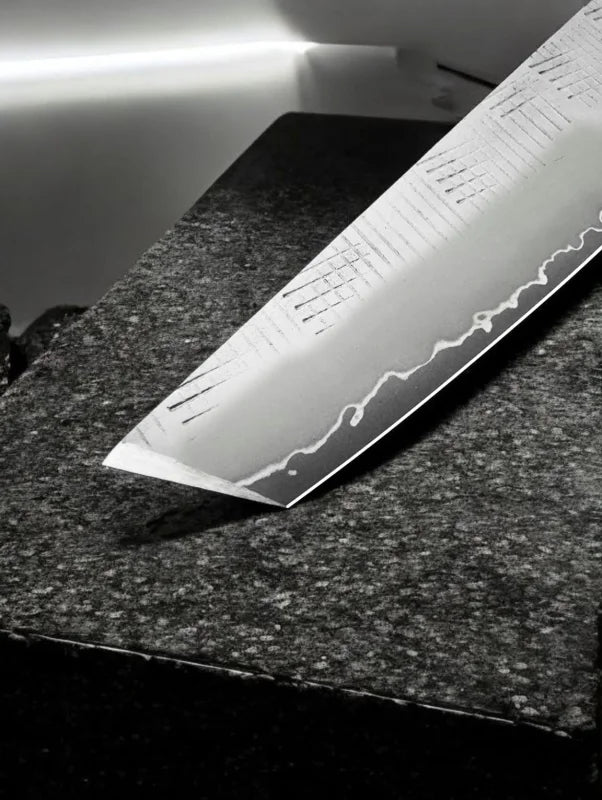
- Damascus knife – for precise cuts
- GN container – for catching meat juices & sections
Conclusion: Reverse Sear – simple, precise, and incredibly good
Whether you're a steak beginner or a BBQ veteran – with Reverse Sear, you cook steaks on a new level. The method gives you control, flavor, appearance, and the good feeling of mastering a real craft.
Try it out – and give your steak the finish it deserves.


 >
>
 >
>
 >
>
 >
>
 >
>
 >
>
 >
>
 >
>